Sunday, August 15, 2010

Making an old chair new(er)

Some 25 years ago I rescued 4 pieces of furniture from a barn in Wyoming. One piece is stamped with "Old Hickory, Hendersonville, Indiana." It looks like the company still exists, though in Shelbyville. The original seats and backs were rotted away so I used some cotton clothesline rope to weave new seats. It was all I could think of at the time.
Not a great solution, but it's lasted all these years. For years I've been thinking I should learn to weave rush chair seats, but never got around to it. I've seen chairs with shaker tape seats, but hadn't really thought about it much. Several weeks ago I scored a huge piece of denim at the thrift shop. I'd been collecting old jeans, but haven't gotten around to weaving a rug out them yet. Yesterday i decided to use the denim and weave a new seat for one of the chairs. I cut the material into 3"/7.5cm wide strips.
Sewed the ends together, folded them in half, folded the edges to the middle and stitched this into a 3/4"/1.75cm wide "tape".
To add a little extra padding to the seat I mixed together oak shavings from my surface planer with some loom waste and stuffed it into a fabric envelope.
About half way across the seat as you're winding on the "warp" you tuck the pad in between the two layers of tape and continue to wind on the warp. I used only the large piece of denim for the warp and then used the old Jeans scraps for the weft.
Splices are done on the bottom of the seat. The use of a thimble is highly recommended!
With the seat complete I proceeded to cut off the cotton clothesline from the back. I love my old hunting knife.
I couldn't resist. I had a piece of heavy weight red cotton twill and decided to use it to jazz things up a bit. The front porch never looked so cheerful.
Next up, the love seat. If you were a fan of "Green Acres", you'll recognize this as same make of love seat that the Ziffels had on their front porch, Arnold courted Susy Hainey on that love seat.
I may need to take a few weeks off before I tackle that though.




Sunday, August 8, 2010

To market, to market... a grocery bag.

Portland is considering banning plastic grocery bags. I agree, the litter they create is immense. I cannot, however, endorse the use of paper bags. The line of trees left along the highways does not hide the miles and miles of deforested land behind them.
I decided to revist the traditional european string shopping bag. I looked around on the internet and found some knit or crochet option patterns. I took that info and came up with this.

I had a 5 pound cone of 12 ply cotton/ poly string. I weighed my finished bag and had 8 ounces/.25 kg. Any cotton, hemp, linen string would be acceptable.
I used a 24 inch/60cm size 6US/4mm and a US10 1/2/6.5mm circular needle. I would probably use a size US9/5.5mm on my next one though.
The bag holds a lot.
On the smaller needle, cast on 42 stitches, knit about 4inches/10cm in garter stitch.
Pick up and knit 20 stitches on the short edge, then the 42 stitches on the long edge, and 21 stitches on the final short edge.
There should be a total of 125 stitches.
Knit 3 or 4 rows in the round.
Change to the larger needle and knit 1 row.
Begin pattern.
I opted for; yarn over, knit 2 together through back loop/twice, knit 2.
One could also do ; yarn over, knit 2 together. Any lace pattern is going to work if you do the math right.
Just keep going until you have about 10 inches/26cm of bag.
Switch back to the smaller needle and knit about an inch. Do garter stitch for an half or so inch.
Final row. (based on my count, your count will be based on your pattern and numbers)
knit 6, the distance from bag sides to handle. Knit 8, the handle stitches. Bind off looseley 14 stitches using a larger needle. On the working needle knit 8 handle stitches, the 6 handle to side stitches, the 20 side stitches and another 6 side to handle stitches, total of 32 stitches. Knit another 6 stitches and then 8 handle stitches. With the larger needle bind off 14 stitches. Working needle now knits 8 handle stitches. Knit the remaining stitches, 6 handle to side, 21 side and 6 more side to handle. You should be back to the first 8 handle stitches. Knit these back and forth in garter stitch for 12 inches/30cm. Measure the 12 inches/30cm with the handle band stretched out. place the handle on top of the next 8 stitches so that after binding off you will be able to continue on without breaking off the string. Do a 3 needle bind off of the 8 handle stitches.
With larger needle bind off 32 stitches. Knit the second handle to match the first, attach with 3 needle bind off. Bind off remaining 33 stitches with larger needle. Weave in and secure the loose ends.

Sunday, August 1, 2010

experimentation

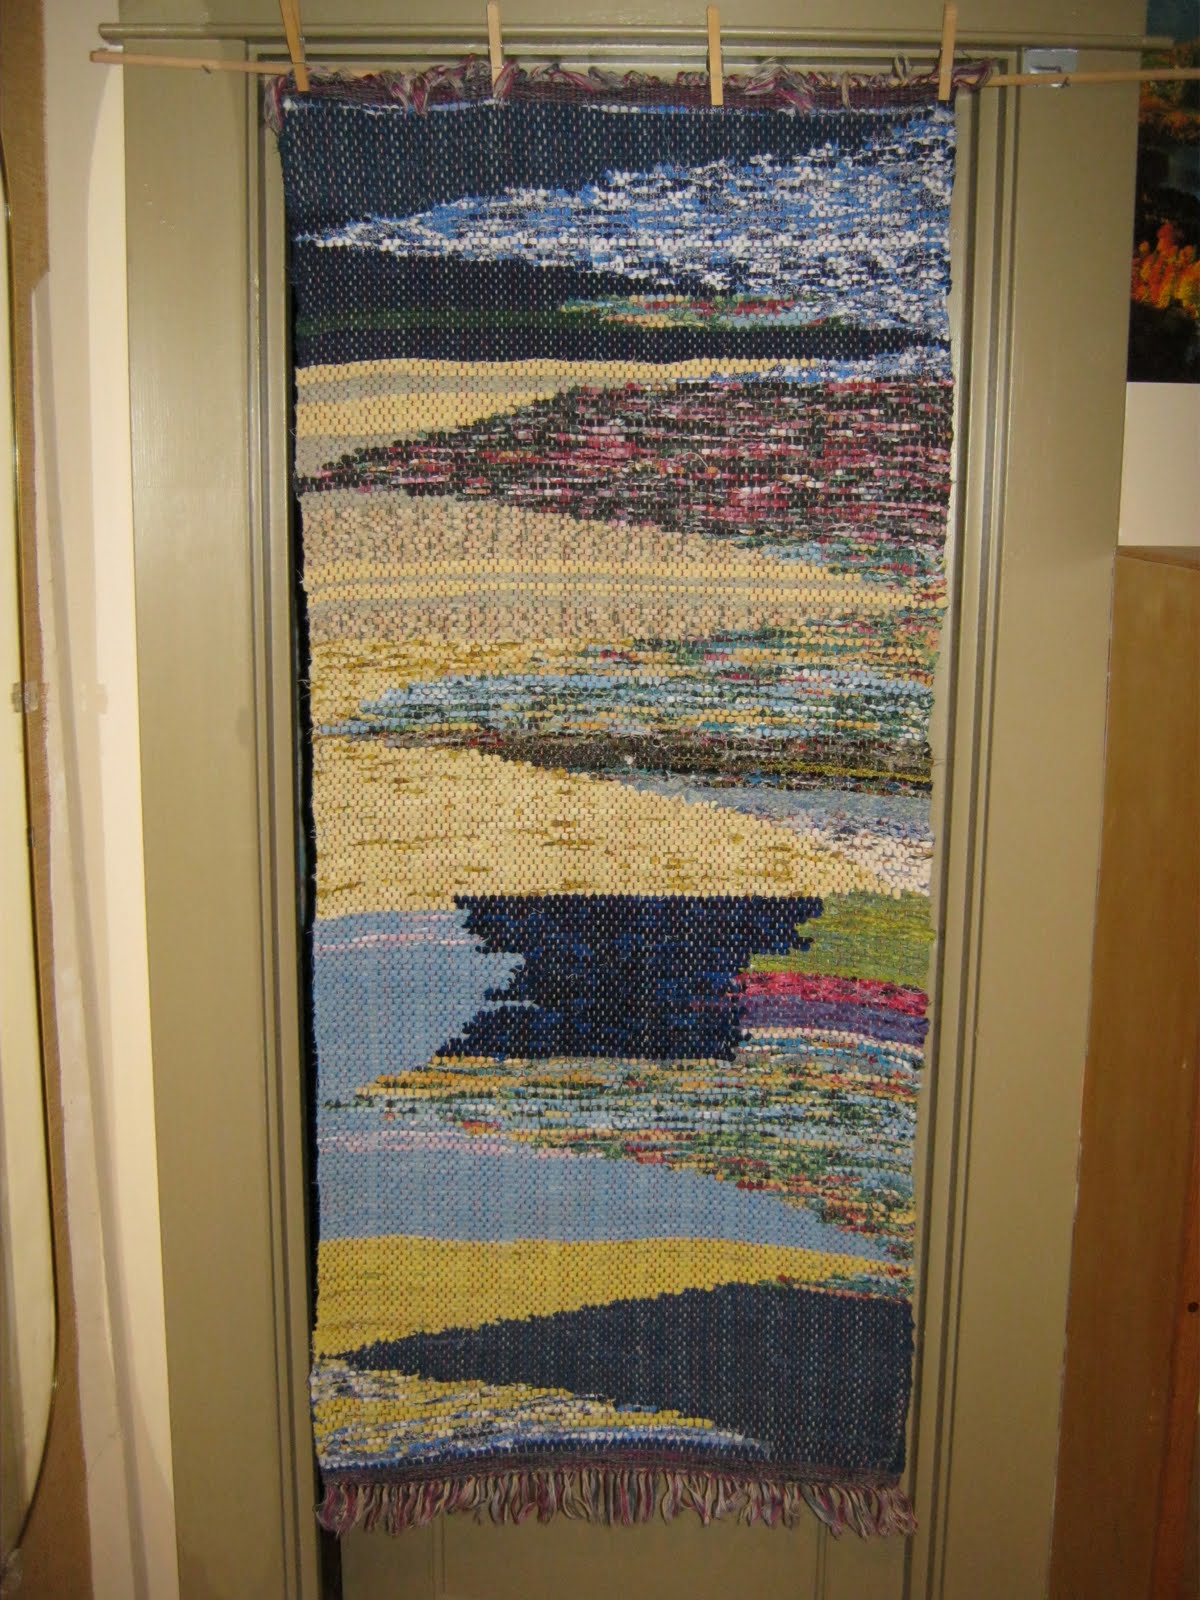
Using up random materials and trying out a new weaving technique yielded this rug. 24x52 inches/ 61x132 cm.
Die Ausnutzungen verschiedene Materie und die Ausprobierung ein neuer Webtechnik ergab Dieser "Trasmatta". 61x132cm.

Saturday, July 31, 2010

Out with the old.

The complaint was that this old wooden clothes drying rack was staining the white t-shirts and underwear. I'm not surprised, it has been around collecting dust and grime for years.
I was going to just build a new based on the old one but looked around and found these plans.
The wood dimensions seemed a bit flimsy to me though. I used 5/8" dowels and 3/4x1 1/2" supports. I also decided to not go to the all the trouble of shouldering the dowels and just did everything with 5/8" holes. I figure that if the supports slide along the dowels too much I can always pin them with 1/4 pegs later. I also used 4' rather than 3 foot dowels.
It was a little tricky getting all the parts in the right places. But I finally got it right.
Now I have a fresh new and much roomier drying rack for the laundry room.
I just need to wash some laundry now, hang it to dry instead of using the machine, and watch those energy savings pile up.


Sunday, July 25, 2010

After weeks of sulking...

...because I was told that my projects were too messy to be worked on out in the garden because it made it too embarrassing to have freinds over, I finally went in to the woodshop and began a project. I have been using a chair piled with pillows and folded up blankets to sit on while weaving. It's time to actually build a taller chair. This chair will be based more on the welsh stick chair, images, instructions for the adventurous, than a windsor chair, the style just suits me, personally better.
Several weeks ago I went to the log yard and picked up some elm that Joolz had set aside for me.
He harvests trees in Portland, mills them and resells them to be used for building projects. Yet another Portland "green" company, and totally to my liking.
He also had a nice piece of oak cut off that I also took thinking it might be nice for making crest rails. I unloaded it off the top of the car and split it out on the sidewalk.
Today I used the draw knife and shaving horse to rough out the legs. It's definitely not as nice as working on the shaving horse out in the garden, but it's an age old tradition to suffer for one's art;-D
The seat will be some 26"/66cm above the floor, a good 9"/23cm higher than most chairs. I've already determined that I would like the leg tenons to be a full inch/3cm in diameter where they pierce the seat instead of the 5/8" /1.6cm of the previous 2 chairs, chair 1, chair 2. This means that I will need a new tenon shaver as well. Based on my Elia Bizzarri tenon rounder and using a scrap of maple from building the face plate for my bench vise,( for some reason I never did translate that particular entry into english, if you don't do german, just enjoy the pictures). The blade will be a Kunz spokeshave blade. I'll let you know how it turns out. Using a taper reamer in maple is a bit of a task, but didn't take as long as I feared.
More later as progress warrants.

Saturday, July 10, 2010

sectional beam warping

I know some of are very unfamiliar with how my loom is warped. I found a video on the Leclrec loom site. Just scroll down the page to the sectional beam warping video and click to play. it is a 15 minute video, though only about the first 10-12 minutes deal with the warping on.