Showing posts with label Weaving. Show all posts

Wednesday, December 29, 2010

It's been a while...

... I've been doing stuff, just not posting about it.
Yesterday I went to buy rags for my rugs and found some really great stuff. On my way home I always pass by the Pendleton woolen mills outlet store. I have always meant to stop in but never have, until yesterday. After weaving the blankets they cut a narrow strip off the edge, and, they sell those strips at the outlet store. I bought a bunch of them. I was lucky enough to get 4 1/2 pounds all in the same color. I think it was trimmed from this blanket.
I also picked up a bunch in several different colors.

I spooled up the glacier wool and started weaving,

It looks like this. I'm pleased.
I've also been busy working on a hat pattern. This picture shows them all inside out, the one on the head is the only one that is not fully reversible.
Here it is from the right side, the rest are the same hats as above, just from their reversed side.


transferring the process from inside my head to a written, understandable set of instructions is proving challenging though.


Sunday, August 15, 2010

Making an old chair new(er)

Some 25 years ago I rescued 4 pieces of furniture from a barn in Wyoming. One piece is stamped with "Old Hickory, Hendersonville, Indiana." It looks like the company still exists, though in Shelbyville. The original seats and backs were rotted away so I used some cotton clothesline rope to weave new seats. It was all I could think of at the time.
Not a great solution, but it's lasted all these years. For years I've been thinking I should learn to weave rush chair seats, but never got around to it. I've seen chairs with shaker tape seats, but hadn't really thought about it much. Several weeks ago I scored a huge piece of denim at the thrift shop. I'd been collecting old jeans, but haven't gotten around to weaving a rug out them yet. Yesterday i decided to use the denim and weave a new seat for one of the chairs. I cut the material into 3"/7.5cm wide strips.
Sewed the ends together, folded them in half, folded the edges to the middle and stitched this into a 3/4"/1.75cm wide "tape".
To add a little extra padding to the seat I mixed together oak shavings from my surface planer with some loom waste and stuffed it into a fabric envelope.
About half way across the seat as you're winding on the "warp" you tuck the pad in between the two layers of tape and continue to wind on the warp. I used only the large piece of denim for the warp and then used the old Jeans scraps for the weft.
Splices are done on the bottom of the seat. The use of a thimble is highly recommended!
With the seat complete I proceeded to cut off the cotton clothesline from the back. I love my old hunting knife.
I couldn't resist. I had a piece of heavy weight red cotton twill and decided to use it to jazz things up a bit. The front porch never looked so cheerful.
Next up, the love seat. If you were a fan of "Green Acres", you'll recognize this as same make of love seat that the Ziffels had on their front porch, Arnold courted Susy Hainey on that love seat.
I may need to take a few weeks off before I tackle that though.


Sunday, August 1, 2010

experimentation

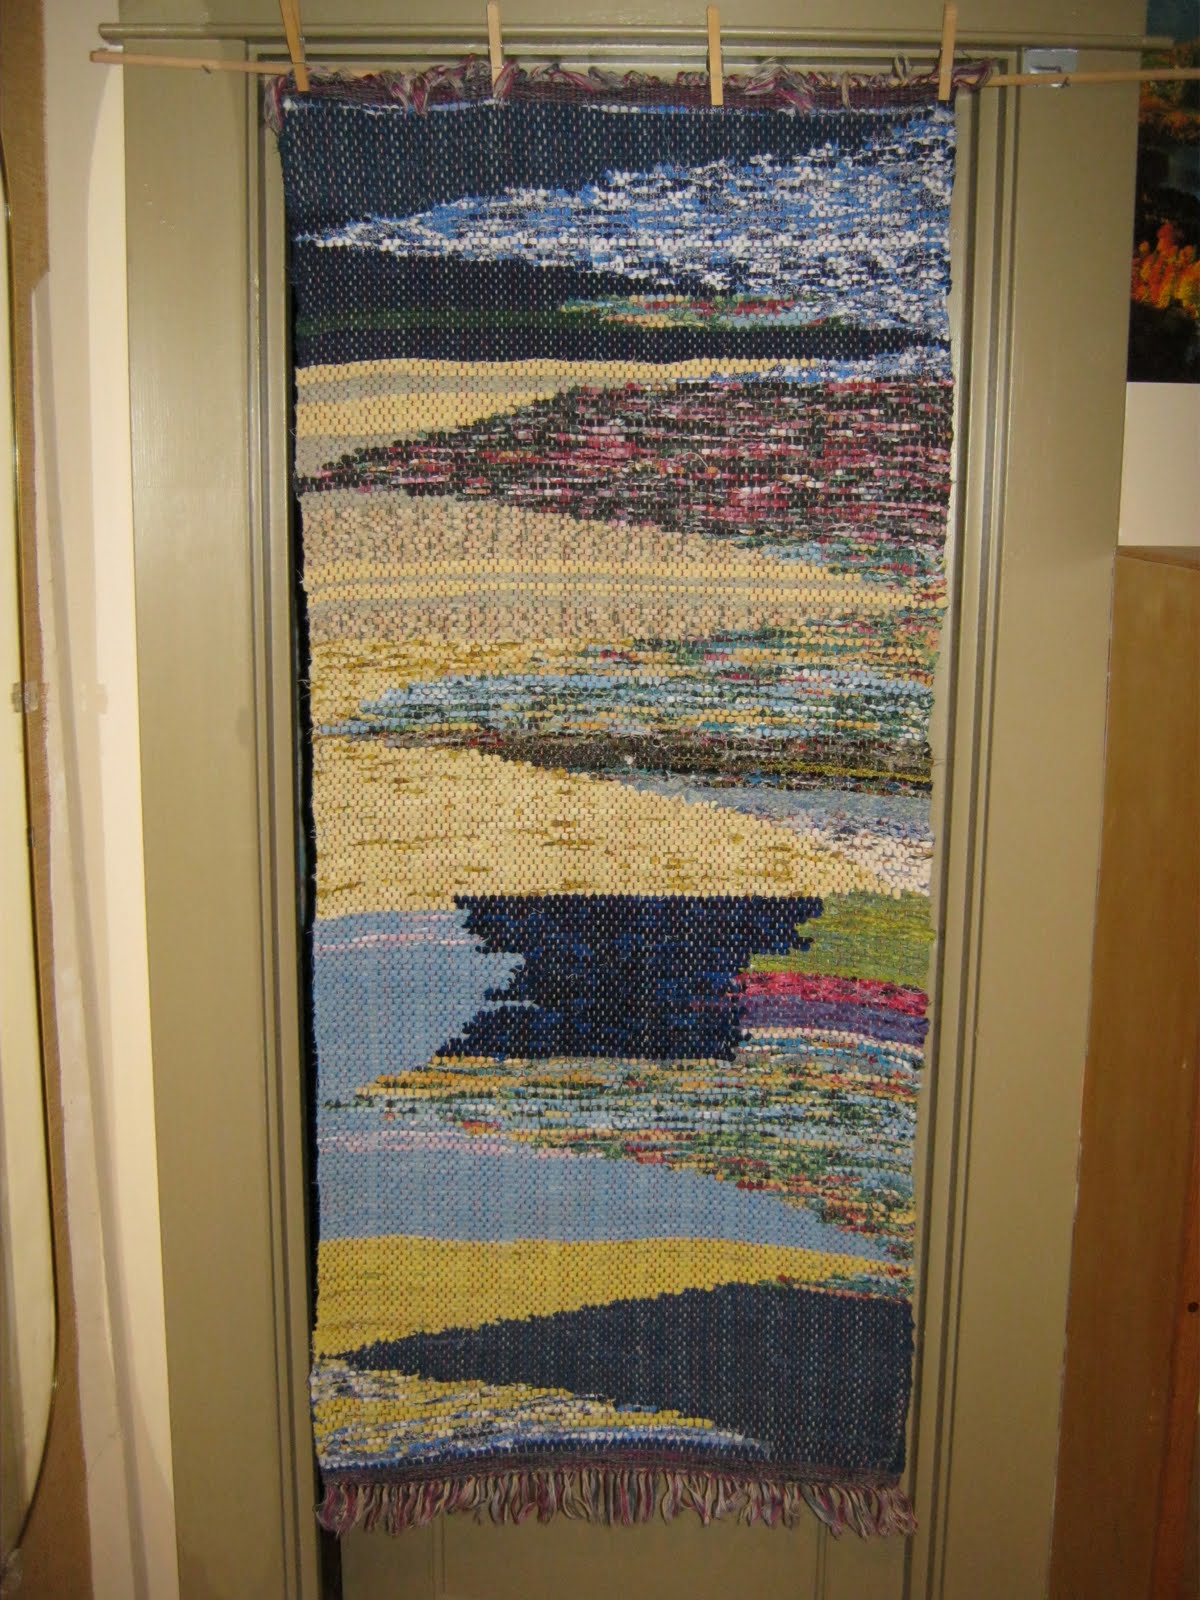
Using up random materials and trying out a new weaving technique yielded this rug. 24x52 inches/ 61x132 cm.
Die Ausnutzungen verschiedene Materie und die Ausprobierung ein neuer Webtechnik ergab Dieser "Trasmatta". 61x132cm.

Sunday, July 25, 2010

After weeks of sulking...

...because I was told that my projects were too messy to be worked on out in the garden because it made it too embarrassing to have freinds over, I finally went in to the woodshop and began a project. I have been using a chair piled with pillows and folded up blankets to sit on while weaving. It's time to actually build a taller chair. This chair will be based more on the welsh stick chair, images, instructions for the adventurous, than a windsor chair, the style just suits me, personally better.
Several weeks ago I went to the log yard and picked up some elm that Joolz had set aside for me.
He harvests trees in Portland, mills them and resells them to be used for building projects. Yet another Portland "green" company, and totally to my liking.
He also had a nice piece of oak cut off that I also took thinking it might be nice for making crest rails. I unloaded it off the top of the car and split it out on the sidewalk.
Today I used the draw knife and shaving horse to rough out the legs. It's definitely not as nice as working on the shaving horse out in the garden, but it's an age old tradition to suffer for one's art;-D
The seat will be some 26"/66cm above the floor, a good 9"/23cm higher than most chairs. I've already determined that I would like the leg tenons to be a full inch/3cm in diameter where they pierce the seat instead of the 5/8" /1.6cm of the previous 2 chairs, chair 1, chair 2. This means that I will need a new tenon shaver as well. Based on my Elia Bizzarri tenon rounder and using a scrap of maple from building the face plate for my bench vise,( for some reason I never did translate that particular entry into english, if you don't do german, just enjoy the pictures). The blade will be a Kunz spokeshave blade. I'll let you know how it turns out. Using a taper reamer in maple is a bit of a task, but didn't take as long as I feared.
More later as progress warrants.

Saturday, July 10, 2010

sectional beam warping

I know some of are very unfamiliar with how my loom is warped. I found a video on the Leclrec loom site. Just scroll down the page to the sectional beam warping video and click to play. it is a 15 minute video, though only about the first 10-12 minutes deal with the warping on.

Sunday, June 27, 2010

I have actually been doing stuff, even though I have not been posting.

I finally used up all the warp that I had wound onto the loom. I had a lot of problems though with the warp tension going more and more uneven as I progressed. Rather than saying that it was the inexperienced weavers fault, I decided that the 90 year old worn out loom parts were to blame and decided to replace this particular piece. The sectional warping beam.
I did not want to pay the price for Maple as was probably used for the original, so I bought Poplar. Milled it to size and nailed and glued it up.
I really wanted to do something more like the metal section dividers of the Lerclerc loom, but could not find anything readily available to make that happen, something along the lines of a large stainless steel fence staple.
I decided to go along with the original design until I find what I would rather have, retrofitting shouldn't be too much of a problem. So, 3/8" dowel sharpened in the pencil sharpener and then cut to length, x76. When was the last tiome one of you sharpened 76 pencils in a row?
A light sanding with 22o grit sandpaper, x 76.
And now it's time to quit and drink beer for the rest of the evening.
I did contact Clayton Boyer though, an incredible designer and builder of wooden gear clocks.
His wife is a fiber artist and he has designed some items for her. I challenged him to design plans for a specific piece that I would dearly love to have, but don't have the mechanical abilities necessary to design myself. A geared device that can twist 2 strands of rags together and, in the same operation, with the use of only one crank, then wind it into a ball. We'll see if he can come up with such a plan. If anyone can, it's him. He's a wooden gear and device genius.
That then leaves me with the question; "can I follow his plans"?

Monday, April 5, 2010

What? You're surprised it's still about rugs?

Sewing up measured sequences of rag strips for a symetrically planned rug

Winding them on to shuttles and placing them in order, left to right.

Thinking about what to do next. So many choices.


Maybe one in purples, or maybe one using primary red, blue,yellow, etc as in this former Mickey Mouse curtain?


Sunday, April 4, 2010

Okay, one more time

I have restrung the loom. Unfortunately I have two separate "original" booklets on how it should be done. One instructed me to wind on 20 threads per section to weave at 8 ends per inch. This didn't make sense, but I did it. It looked wrong when I got to the point of beginning to weave so I double checked, looking at both booklets. The second booklet said wind on 16 threads per 2 inch section, this made a lot more sense, but I already had 30 yards of warp wound on at 20 per section for 12 sections. I decided to go with the the 10 threads per inch and wound on 2 more sections to reach my desired 28 inch width. I didn't manage to thread the warp tensioning box exactly the same though, and the 2 new, outside sections are a little looser than the 12 others. Not Good! But I'm limping along until I've used up this warp.
One rug is finished, 26 by 60 inches, yeah, the 28 inch desired width narrowed down to 26, that's a technicality that I still need some practice on.
It's kind of a somber rug though, color wise, so my next one is something a little brighter.

I also added an overhead shuttle rack to the loom. The original would have been more solid, but I'm working on a budget here and used what I had in the shop, plus $3.

Monday, March 29, 2010

Not there yet

After almost a week of working on the loom itself, (related reading Here , and Here). I was ready to wind on the warp this weekend. It didn't go well and I had to rethink how it could be done, (related story here) . Success! I got the warp wound on, 30 yards/27.4 meters.
I then threaded all 240 threads through separate heddles and then sleyed, (scroll down a little) them through the reed. (Note, the author of the sleying entry threads their loom from front to back, my loom is done back to front, so all their steps in warping the loom are the reverse of what happens on my loom.)
I tied the warp on to the lease stick,
wove a couple of inches with old loom waste and string to spread the warp threads evenly,
wrapped the chosen colored rags on shuttles,
and commenced to weave.
I'm not pleased. I'm using 8 threads per inch/3.2 per cm, 1 up - 1 down and find the resulting rug just too thin. I think I'll go back and rethread the heddles to 2 up - 2 down and try again.
A lot of work to reach a point where you realize you need to go back and do it over sure, but, better to fix the problem now than to try and go forward to an end result that you already know is going to be a disappointment.


Sunday, March 28, 2010

Back to the drawing board.

After attempting to warp on following the original instructions, from some 80 years ago, as well as missing some loom parts and having to guess at what they might look like, I ended with tangled and broken threads. I decided to do some more thinking and visited my friend the internet. There I found that most people with a sectional warp beam loom use a detached spool rack and a warp tensioning box. Okay. Into the woodshop to see what scraps I had on hand to come up with these items. Voila...
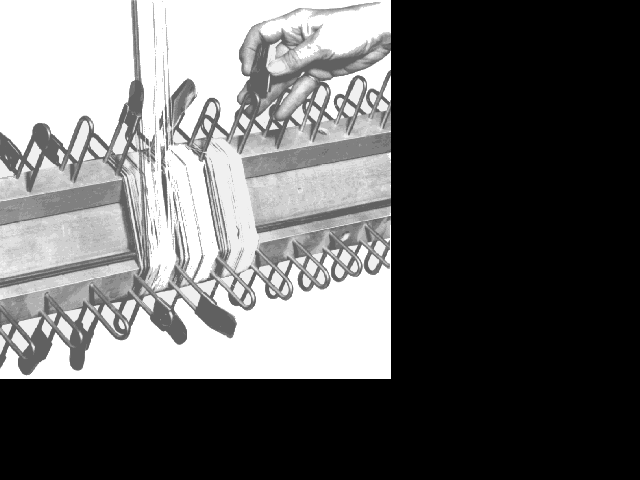
The woodshop is getting low on scraps but I managed to find the pieces to come up with a spool rack, of course I had to dismantle my original home built loom to use it's leg assembly. I had an assortment of wood doweling, and some T-pins. The base of the tensioning box is oak and the side piece is poplar. The idea is that the warp threads come into the box through 1 set of pins and wrap over and under the dowels in a series that adds the right amount of tension, they then feed out through another set of pins and on to the warp beam in the right order.
It seems to be working.
The overview of this set up from the back of the loom.

Now, I need to finish winding on and thread the heddles and sley the reed so I can get on with some weaving.

Friday, March 26, 2010

2 problems solved, on to the next one

Okay, i've built and attached the new treadle brace/ spool rack.
The next problem was how to control the threads as they come off the spools. The original loom would have had a wire with multiple loops bent in several different directions. No clear picture of how it should have looked, and a later edition of the instruction manual stated that the newer versions of this loom were equipped with" a thin board with wire staples". Okay, what? My solution, a board with eye hooks. I don't know yet if it is a good solution. I have to solve the next problem before I know how this solution works.


Wednesday, March 24, 2010

Loom repair

The part of the loom that I was sure I would have to replace sooner rather than later did break soon.
I can't afford a nice piece of maple to make the part I need so I took a few pieces of old pallet wood from work and made do. As you can see, the original would have also had some holes where "spindles" would have been inserted. These hold the spools of warp thread while you wind on the warp. since my wood is a soft wood, rather than a hard wood, I made the piece thicker than the original.And, since it was such a nice evening out in the garden, I went out there to do part of the work.
Power tools do help speed up the woodworking, but the old handtools are very pleasant to use. No noise, and,well... they are hand tools.
The new piece is shaping up nicely, but that is definitely enough for today. Piggy and dog also want some attention as well.


Monday, March 22, 2010

Got shuttles?

I had 2 shuttles that I made from a piece of cedar, this next project will require more than that.
Tablesaw,
Drill press,
Band saw,
dremel and sander.
Okay, I've got shuttles; the 2 cedar, 2 oak,3 poplar and 9 makore. It's a good thing that save all my scraps of lumber.

Saturday, March 20, 2010

Yep, another rug.

This one was woven at 10 warp threads per inch. 21x41 inches / 53x104 cm
Up close.
I'm waiting on the new rug warp that I ordered and can't weave until it gets here. So in the meantime I have a little loom repair to do as well as preparing rags for the next rugs.
Cutting them into strips.
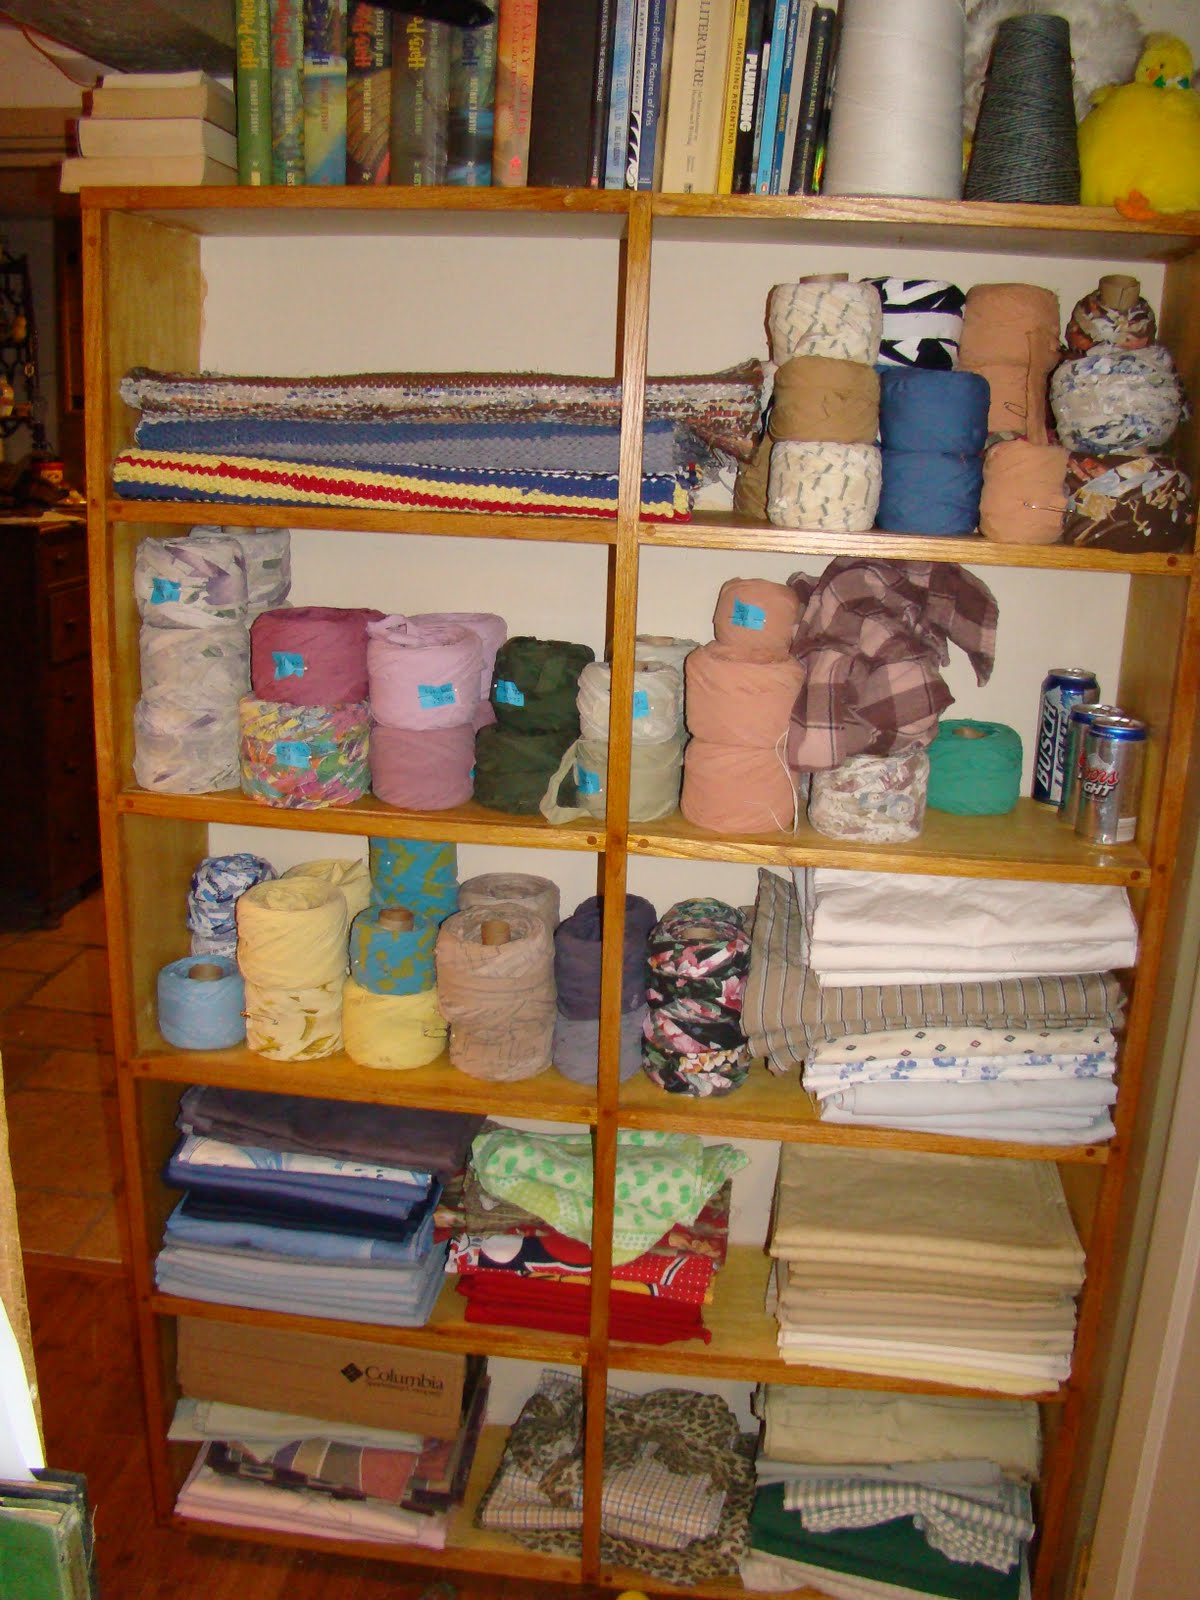
Sewing the strips together and winding them into balls.